The Ultimate Dried Fruit Trail Mix Recipe: Your Guide to Healthy Snacking
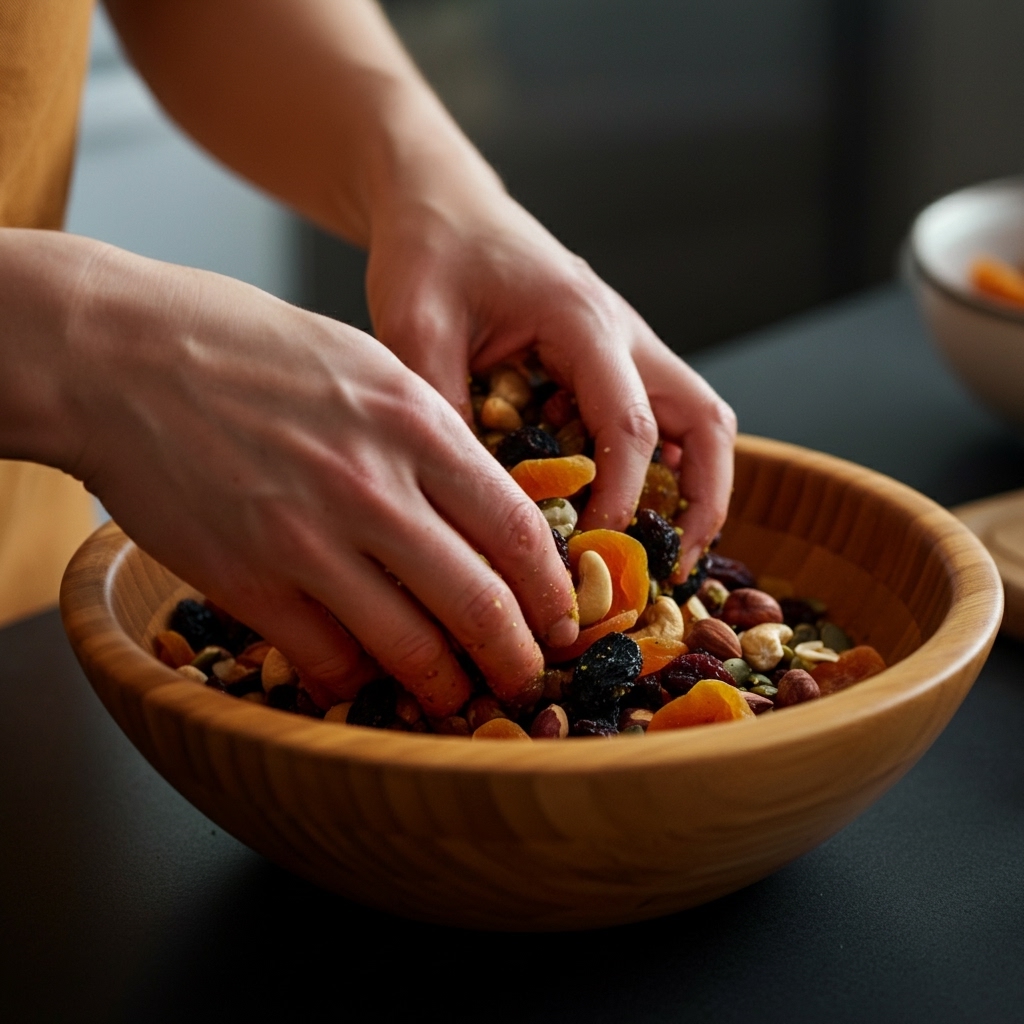
Creating your own dried fruit trail mix is a fantastic way to ensure a healthy, customizable, and energizing snack for any occasion. This guide provides a comprehensive dried fruit trail mix recipe, detailing everything from selecting your favorite ingredients to perfectly blending and storing your homemade creation. You’ll learn how to craft delicious, nutritious mixes tailored to your taste and lifestyle, ensuring you’re always prepared with a wholesome treat.
Why Make Your Own Dried Fruit Trail Mix?
While store-bought trail mixes offer convenience, making your own offers unparalleled control over ingredients, allowing you to avoid unwanted sugars, salts, and preservatives. This approach is ideal for those seeking truly premium healthy snack choices that cater to specific dietary needs or preferences. Imagine a mix perfectly balanced with your favorite flavors and textures, providing a wholesome boost whenever you need it.
Homemade trail mix is not just about health; it’s also incredibly cost-effective in the long run. Buying ingredients in bulk and mixing them yourself often proves cheaper than repeatedly purchasing pre-packaged versions. Plus, the satisfaction of creating your own homemade healthy snacks is a reward in itself, ensuring you have a reliable source of portable energy food for hikes, work, or school.
Customization and Dietary Control
One of the biggest advantages of a DIY dried fruit trail mix recipe is the ability to fully customize. Are you allergic to nuts? Skip them! Do you love tropical flavors? Load up on mango and pineapple. This level of control means your snack is always exactly what you want and need, making it a perfect solution for athletes, busy professionals, or families looking for nutritious snack options.
Freshness and Quality Assurance
When you prepare your own trail mix, you’re in charge of the freshness of each component. You can select high-quality dried fruits, nuts, and seeds from trusted sources. For example, opting for soft dried fruits ensures a chewier, more delightful texture compared to some overly dehydrated alternatives. This attention to detail guarantees a superior taste and texture experience.
Essential Ingredients for Your Trail Mix
The beauty of a dried fruit trail mix recipe lies in its versatility. While there are endless combinations, a balanced mix typically includes dried fruits, nuts, seeds, and sometimes an extra treat. Each component plays a vital role in providing energy, fiber, and essential nutrients, making it a truly customizable snack mix.
For your dried fruit base, consider a variety of textures and flavors. Sweet options like raisins, cranberries, and cherries are classics. For a more exotic twist, incorporate mango slices, pineapple chunks, or even goji berries. Don’t forget the importance of choosing quality dried fruits; they are the heart of your mix. Look for options that are naturally sweet and free from added sugars, or explore the exceptional taste of premium healthy snacks like freeze-dried options which retain more nutrients.
Choosing Your Dried Fruits
- Classic Choices: Raisins, cranberries, dried cherries, apricots.
- Tropical Delights: Mango, pineapple, papaya, kiwi.
- Unique Additions: Goji berries, mulberries, dried figs, dates.
When selecting your dried fruits, pay attention to whether they have added sugar or oil. Opt for unsweetened varieties whenever possible to keep your trail mix as healthy as can be. The natural sweetness of fruits is often more than enough.
Nuts, Seeds, and Optional Boosters
Nuts and seeds add healthy fats, protein, and crunch. Almonds, cashews, walnuts, and pecans are excellent nut choices. For seeds, pumpkin seeds, sunflower seeds, and chia seeds offer a great nutritional punch. If you want an extra touch of indulgence, consider adding dark chocolate chips, coconut flakes, or even a sprinkle of cinnamon for warmth. These elements transform a simple mix into a truly satisfying on-the-go fuel.
Crafting Your Custom Trail Mix: Step-by-Step
Making your dried fruit trail mix is incredibly simple and takes only a few minutes. The key is to find a balance between your favorite ingredients to create a harmonious blend that keeps you coming back for more. Follow these easy steps to prepare your perfect batch.
Step 1: Gather Your Ingredients
First, lay out all your chosen dried fruits, nuts, seeds, and any optional additions. This allows you to visualize your mix and ensure you have everything on hand. A good ratio to start with is typically 1 part dried fruit, 1 part nuts, and 1/2 part seeds, with optional extras to taste. However, feel free to adjust this based on your personal preferences for a truly long-lasting treats mix.
Step 2: Combine and Mix Thoroughly
In a large bowl, combine all your ingredients. Use a large spoon or your hands (ensuring they are clean!) to gently mix everything together. The goal is to distribute all the components evenly so that every scoop offers a delightful variety. This step is where your dried fruit trail mix recipe truly comes to life.
Step 3: Portion and Store
Once mixed, you can portion your trail mix into individual servings using small resealable bags or containers. This makes it convenient for grab-and-go snacking. For bulk storage, transfer the mix to an airtight container and store it in a cool, dry place. Proper storage is crucial for maintaining freshness and extending the shelf life of your on-the-go fuel.
Storage Tips and Creative Variations
Proper storage is essential to keep your homemade dried fruit trail mix fresh and delicious for weeks. Beyond basic storage, exploring different variations can keep your snack exciting and prevent palate fatigue. A well-stored mix can be a lifesaver when you need a quick, healthy bite.
Optimal Storage for Freshness
To maximize the shelf life of your trail mix, always store it in an airtight container away from direct sunlight and heat. A cool, dark pantry or cupboard is ideal. If you’ve included ingredients like chocolate chips, which can melt, consider refrigerating the mix during warmer months. This simple step ensures your portable energy food remains in top condition.
Some ingredients, particularly nuts, can go rancid over time due to their oil content. If you’re making a very large batch, you might consider storing the nuts and seeds separately and mixing them in smaller portions as needed. This proactive approach helps maintain the overall quality and flavor of your dried fruit trail mix.
Inspiring Trail Mix Variations
Don’t be afraid to experiment with your dried fruit trail mix recipe! Here are a few ideas to spark your creativity:
- Tropical Paradise Mix: Dried mango, pineapple, coconut flakes, macadamia nuts, cashews.
- Berry Blast Mix: Dried cranberries, blueberries, cherries, almonds, pumpkin seeds.
- Spiced Apple Cinnamon Mix: Dried apple rings, walnuts, pecans, a pinch of cinnamon, golden raisins.
- Energy Booster Mix: Dates, figs, walnuts, chia seeds, dark chocolate nibs.
The possibilities are truly endless. Think about what flavors you enjoy and how they complement each other. By continually trying new combinations, you’ll discover new favorites and keep your snacking interesting and nutritious.
Frequently Asked Questions
Q1: How long does homemade trail mix last?
A1: Stored in an airtight container in a cool, dry place, homemade trail mix can last for 2-4 weeks. If refrigerated, it can last longer, especially if it contains ingredients prone to rancidity.
Q2: Can I use fresh fruit in trail mix?
A2: No, trail mix is specifically designed for dried fruits and nuts/seeds because they are shelf-stable and don’t spoil quickly. Fresh fruit would introduce moisture and significantly reduce shelf life.
Q3: What are the healthiest nuts for trail mix?
A3: Almonds, walnuts, cashews, and pecans are all excellent choices, offering healthy fats, protein, and fiber. Brazil nuts are also great for selenium.
Q4: How can I make my trail mix less caloric?
A4: Focus on a higher ratio of dried fruits and seeds to nuts, and avoid adding high-sugar items like candied fruits or excessive chocolate. Portion control is also key.
Q5: Is it better to roast nuts before adding them?
A5: Roasting nuts can enhance their flavor and crunch, but it’s not strictly necessary. If you roast them, ensure they are completely cooled before mixing to prevent condensation and moisture.